Camera calibration with NimOS 19.7 (and above)
The procedure takes around 10 min
INSTRUCTIONS:
1- Log in the Nanoimager laptop with an administrator account
2- If not already done, Download CODI Acquisition from the following link (1gb)
3- Install CODI Acquisition and accept every prompt window during installation
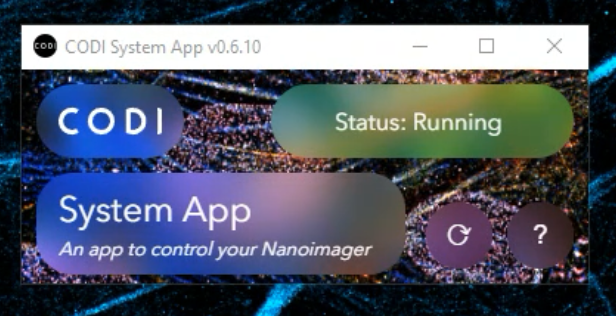
4- With NimOS being closed, start CODI System App and wait until the status turns green: “Status Running”. If it turns red with “error” or never turns green, contact our support team for help.
5- Open Google Chrome and go to alto.codi.bio and connect to your CODI account. If you do not have a CODI account, just create a new one.
6- Go to
https://alto.codi.bio/calibration
If CODI is asking for an update, you can dismiss it.
7- Click on Calibrate camera on the left side
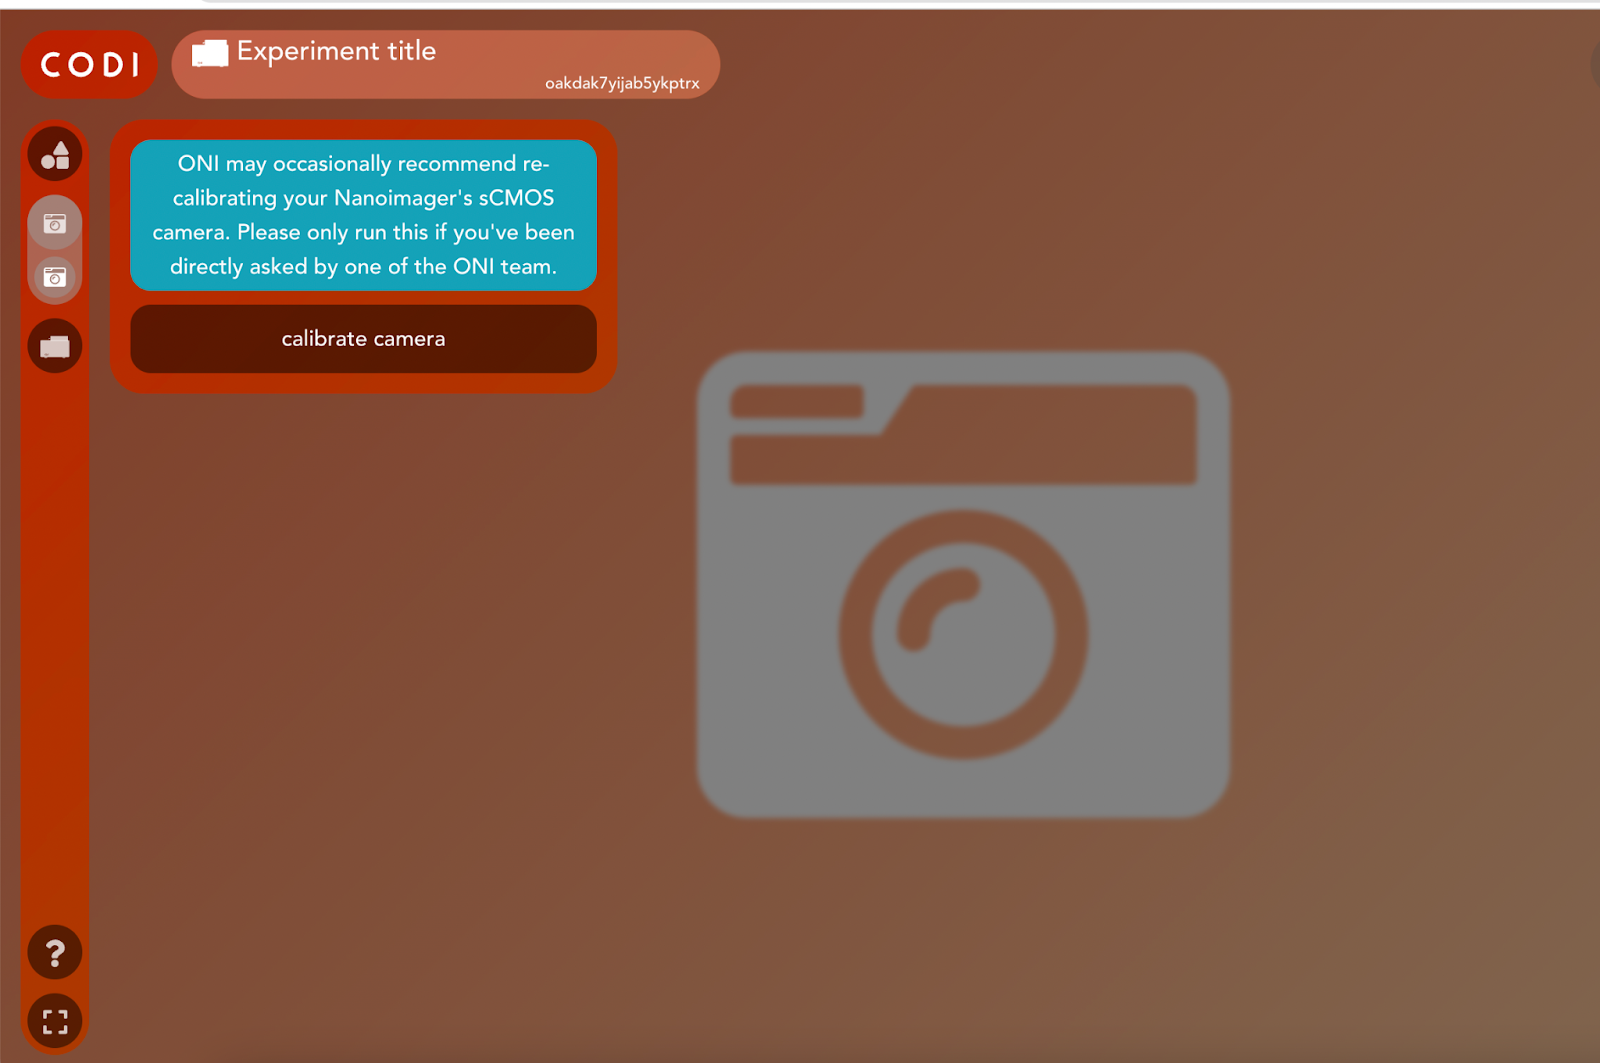
7- Wait for roughly 5 min while the system is running the calibration. If nothing happen after 10 min, get in touch with our ONI support team.
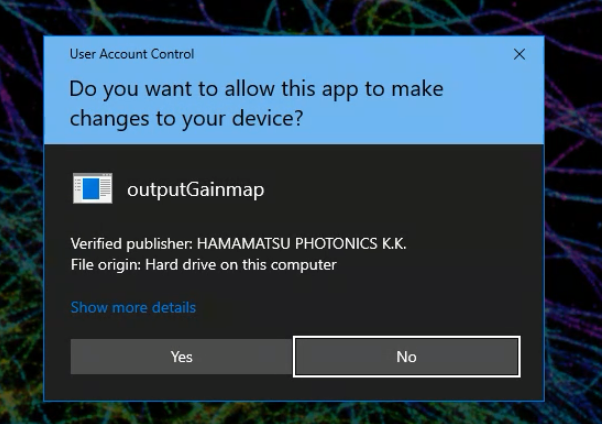
8- Click yes when prompted
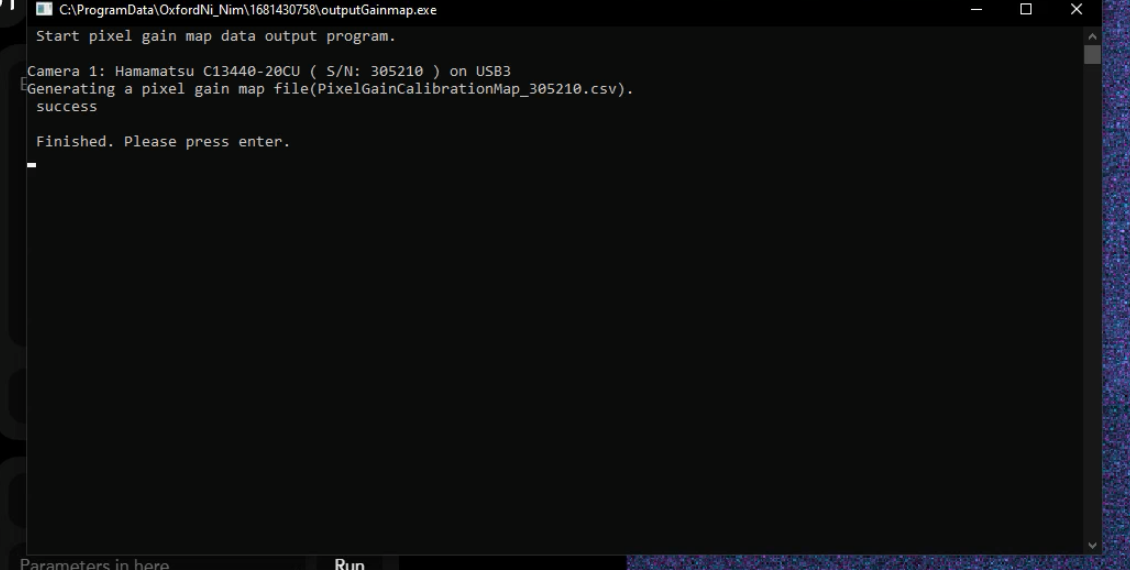
9- Press enter when prompted
10- Close the CODI system app either by closing the window with the cross on the top right corner.
11- Once completed if 19.7 is not already installed on the computer, download NimOS 19.7 here
12- Go into C:\Program Files and delete any folder called OxfordNanoimaging
12- Install NimOS 19.7
13- You are all set!
Related Articles
Channel Mapping Calibration
Channel Mapping Calibration is a complex non-linear calibration process, which is required for multi-color imaging (e.g. co-localization). Calibration Instructions Connect to the microscope, start the temperature control, and wait until the ...NimOS Tabs
NimOS Tabs: Files: Load Data: open an acquisition, which will then appear in the Analyze interface. Instrument: Instrument Config: show general information about the microscope. Manual Connect: manually select an instrument file to connect to the ...3D Mapping Calibration
3D Mapping Calibration is a complex calibration process, which is required for 3D super-resolution imaging (e.g. 3D dSTORM). Calibration Instructions Connect to the microscope, start the temperature control, and wait until the temperature becomes ...NimOS Analysis
NimOS provides functions for data analysis: Analysis: Tools Analysis: Viewing Options Analysis: Filter Analysis: Localizations Analysis: Drift CorrectionNimOS Installation Guide
NimOS Auto-Update In theory, NimOS will pop up a window upon shutdown whenever an update is available: It is recommended to perform the update. Click on Download and Install Update to proceed with the update. The installation process will be ...